SpringBoot
SpringBoot核心
Spring boot 四个核心:Starter,autoconfiguration,actuator,CLI
使用idea创建springboot项目
方式一
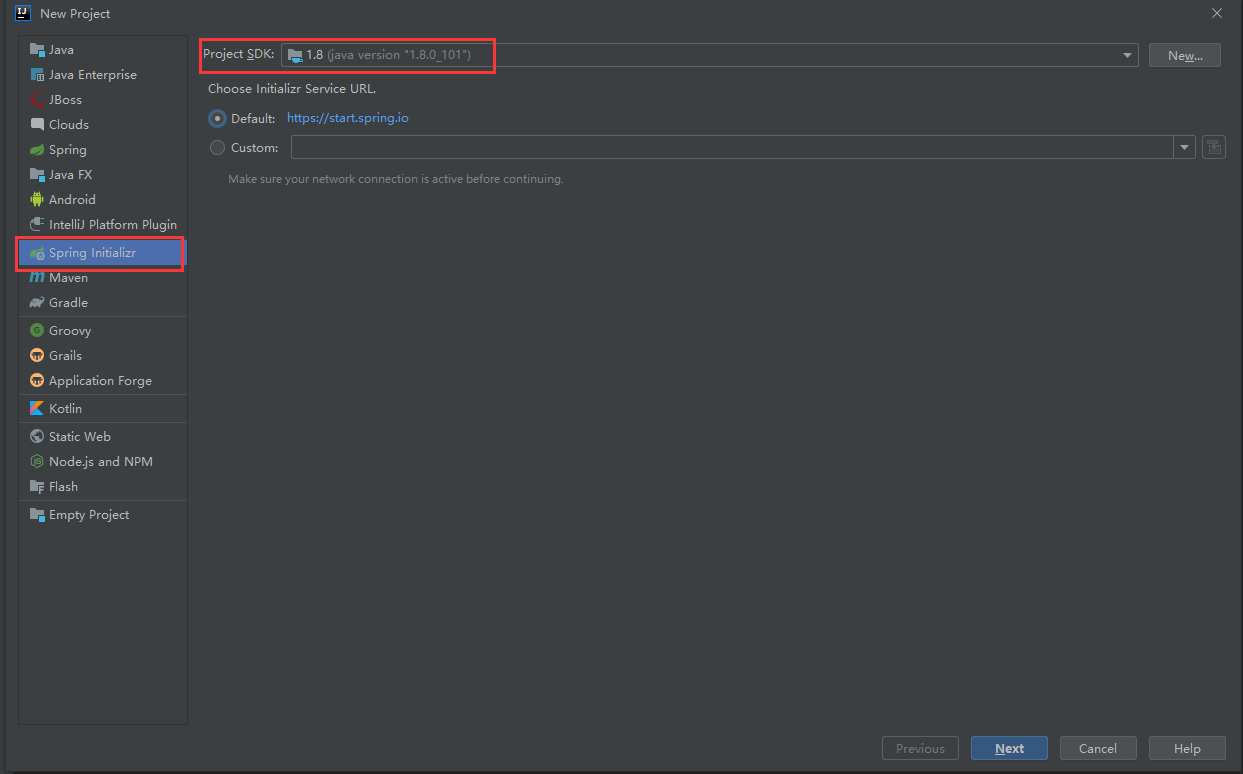
打开idea --> file --> new project
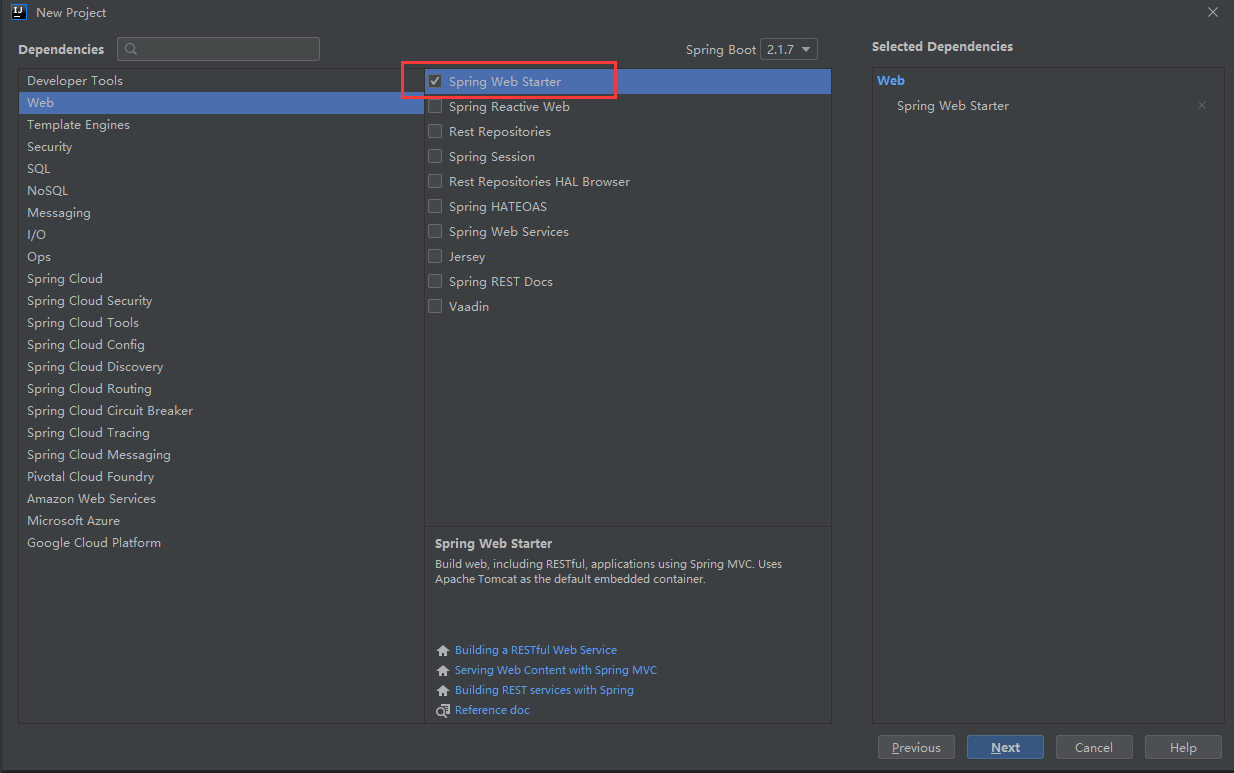
选择依赖
 如果只是普通的springboot项目,而不不是web项目,可以什么都不选
如果是web项目,选择spring web starter
如果需要其他依赖,也可以在上面搜索
如果只是普通的springboot项目,而不不是web项目,可以什么都不选
如果是web项目,选择spring web starter
如果需要其他依赖,也可以在上面搜索
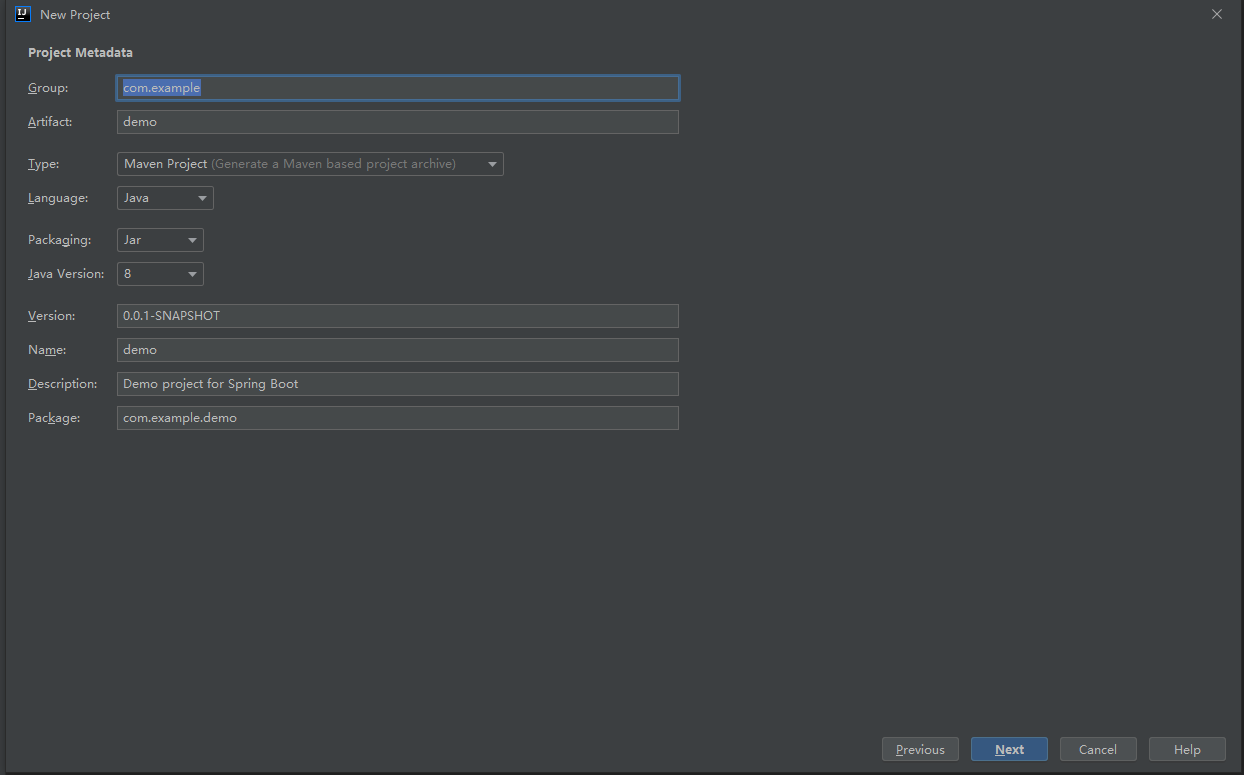
给项目取个本地名称以及存储的地址
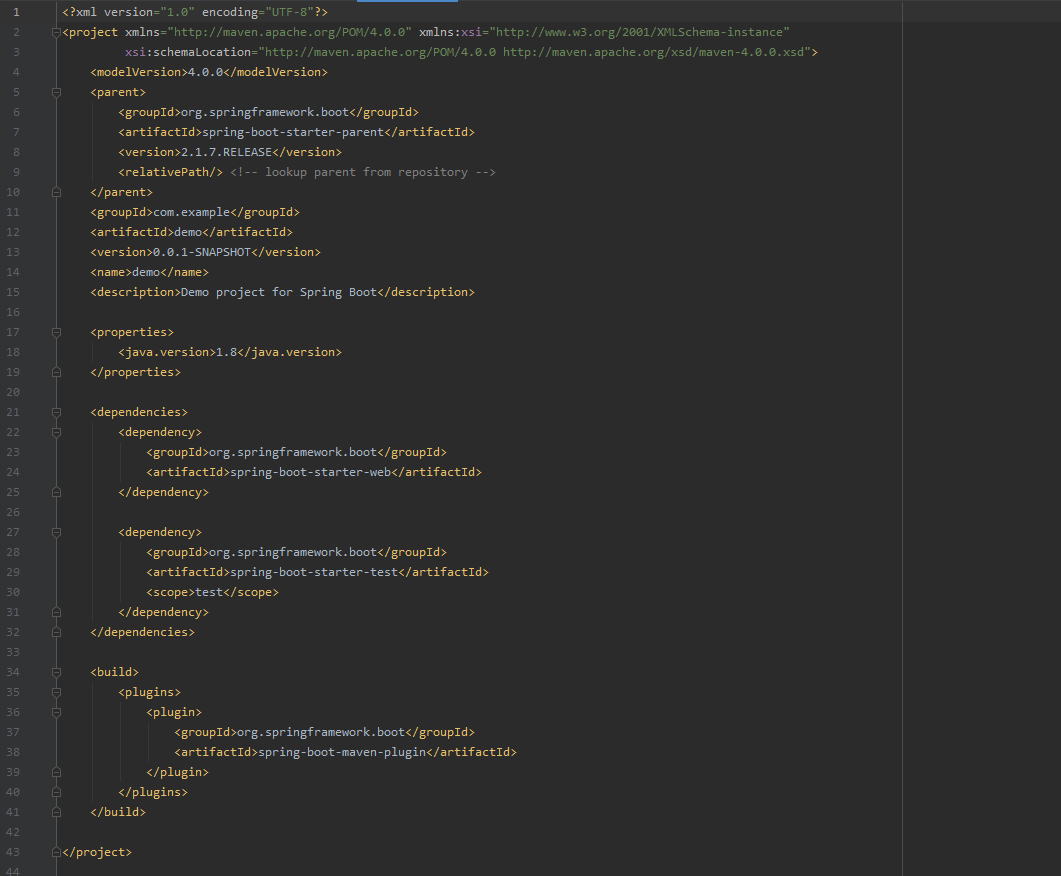
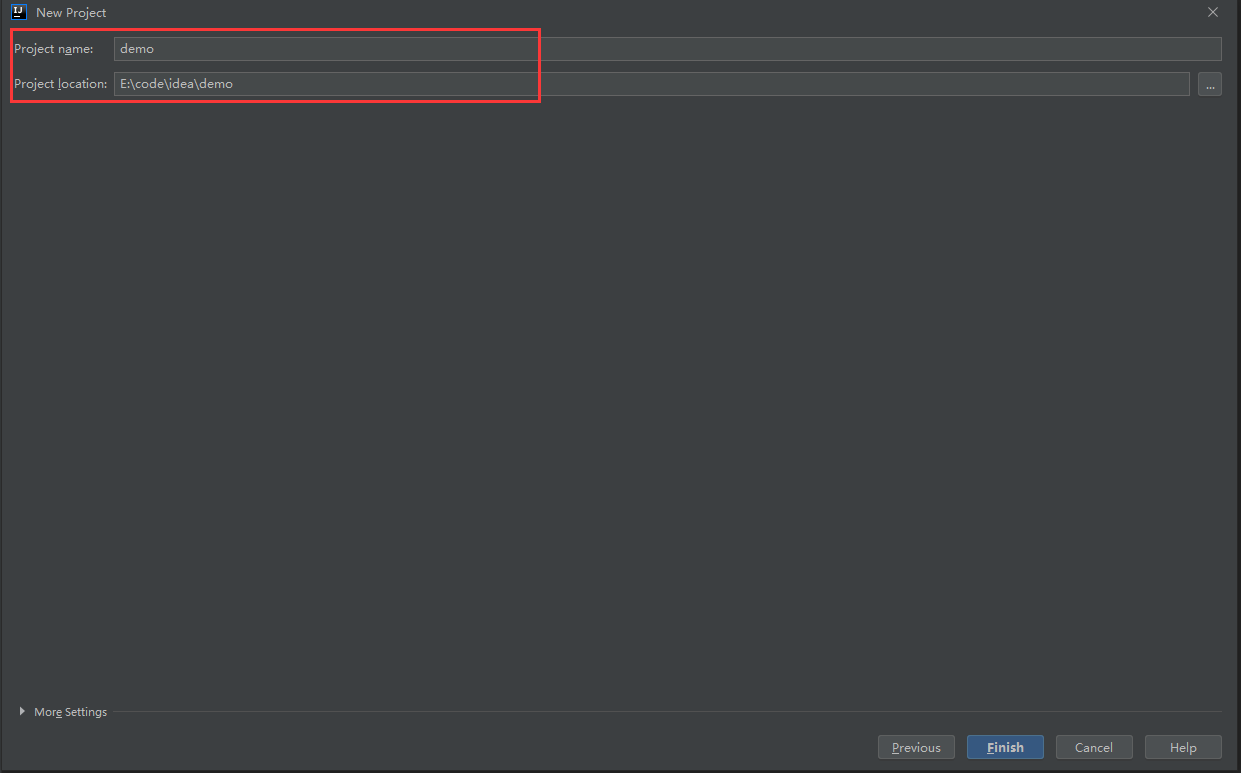 点击next,创建成功。
方式二
创建一个普通的maven项目,手动添加依赖
1.1引入pom依赖
加入parent,让我们的项目依赖于springboot,内部会包含很多组件,在dependency 配置中不需要填写相关版本号。
<parent>
        <groupId>org.springframework.boot</groupId>
        <artifactId>spring-boot-starter-parent</artifactId>
        <version>1.5.4.RELEASE</version>
    </parent>
<dependencies>
        <dependency>
            <groupId>org.springframework.boot</groupId>
            <artifactId>spring-boot-starter</artifactId>
        </dependency>
        <dependency>
            <groupId>org.springframework.boot</groupId>
            <artifactId>spring-boot-starter-web</artifactId>
        </dependency>
</dependencies>
1.2 main函数编写
@SpringBootApplication
public class Application {
    public static void main(String[] args) {
        new SpringApplicationBuilder(Application.class).web(true).run(args);
    }
}
1.3 Controller 编写
@RestController
public class HelloController {
    @RequestMapping("/hello")
    public String hello() {
        return "/hello";
    }
}
@RestController 主要含有@Controller和@ResponseBody两大部分。表示当前controller类所有方法均作为response返回,被注释成RestController后,在方法头不需要使用注解@ResponseBody。
1.4 application.properties配置
#服务名称
spring.application.name=demo
#应用端口,默认8080
server.port=8888
Springboot默认端口是8080,内嵌tomcat容器
1.5 打包
如果需要将项目打包成一个可执行的jar包,需要修改pom文件
<build>
        <finalName>demo</finalName>
        <plugins>
            <plugin>
                <groupId>org.springframework.boot</groupId>
                <artifactId>spring-boot-maven-plugin</artifactId>
                <configuration>
<!-- 如果不指定mainClass,就会去查找当前项目含有main的javaclass,如果多个,则会出现异常 -->
            <mainClass>com.shell.htax.demo.Application</mainClass>
                    <source>1.8</source>
                    <target>1.8</target>
                </configuration>
            </plugin>
        </plugins>
    </build>
1.6 运行
通过Java命令运行jar文件
java -jar demo.jar

1.7 指定配置文件运行
springboot的配置文件可以是.properties 或者是.yml
有时候我们需要将生产、开发、测试配置文件分开,在不同的环境使用不同的配置文件,那么我们可以按照如下方式书写配置文件名称:
application-pro.properties
application-dev.properties
application-test.properties
格式为application-{name}.properties,运行的时候只需要指定配置文件的name即可,如:
java -jar demo.jar --spring.profiles.active=pro
通过浏览器访问,输入:http://localhost:8081